How to Install Artificial Grass
Do you want to install a great green lawn that uses less water and costs less? Are you curious how to do it yourself? Learn how to install artificial grass with this guide.
Many residential and commercial yards are going green with synthetic turf because of the low maintenance costs associated with it. You don’t have to water or mow synthetic grass, so the lower fees and maintenance required are attractive. Read our guide below to learn how to install artificial grass like the pros. You will find out how you can make your yard an eco-friendly zone and save money at the same time. We have everything you need to complete your project, from fake grass to turf tools and accessories, at Watersavers Turf.
Artificial Turf Installation: Before You Begin
Ready to master artificial turf installation? Before you begin, there are a few things to consider:
How much material do you need? Be sure to measure your job site so you can order the right amount of materials and budget accordingly. Our turf comes in 15’ wide, and we can cut to the length you need. It is important to pay attention to blade facing direction and ensure all turf areas face the same way. If you need assistance with artificial turf layouts, contact us – 844-WSI-TURF. We can help you become proficient in artificial turf installation, whether you’re doing it yourself or already an artificial turf installer.
Do you have a sprinkler system already in place? You will need to either cap or remove the sprinkler system.
Do you have gophers? If so, you need to install gopher wire (wire mesh). Gophers can’t chew through the turf itself, but they can dig holes underneath causing the turf surface to become uneven.
Base Preparation for Your Yard
The base preparation is critical for drainage as well as an even surface. Start by removing 3 – 4 inches of the existing lawn or dirt. Once the area is excavated, you want to create a 2% grade for drainage. You can simply create a 2% grade, or downward “crease” in the dirt, allowing water to flow toward a lower point in the ground.
Gopher Wire and Edging
Once the area has been cleared out, the first layer you should put down is the gopher wire. This step is optional, but helpful to keep gophers out. When installing the gopher wire, be sure to not only lay the wire on the bottom surface, but up the sides as well. You want to create a “cage” so that there is no dirt exposed for the gophers to crawl in through. Another step we suggest during base preparation is that you install edging to frame and protect the turf from debris. You can use 2×4 or 1×4 bender board or metal edging.
Base Rock and Decomposed Granite
Once the area is prepped, it’s time to add the first layer of base rock materials. We suggest you lay 2 ½ – 3 inches of ¾” base rock. You will want to put this down in sections, making sure to hose it down and compact it to 90% using a vibrating plate compactor or roller. Next, you will want to bring in decomposed granite (or path fines) and lay 1 – 1 ½ inches on top of the base rock. You will also hose it down and compact it to 90%. It is critical that the decomposed granite is firmly compacted and as level and smooth as possible. If it is not, you can cause rippling in the turf.
One more important layer that we recommend adding is weed fabric. Although this is optional, if your soil is “alive” weeds can grow up through the drain holes of your turf. We suggest that you lay the weed fabric between the base rock and the decomposed granite or over the decomposed granite. We have videos that describe how to install artificial grass from start to finish:
Installation Videos | PDF Installation Guide
How to Install Artificial Grass: Step by Step Instructions
Helpful Tip: Before installing synthetic turf, roll it out in the sun with blades facing down for at least 1 – 2 hours. This will allow the turf to acclimate and make it easier to work with.
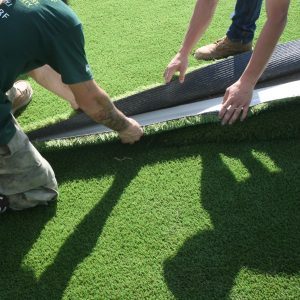
Step 1: Roll out synthetic turf pieces and use a turf knife to cut off the manufacturer edging. You want to cut through the backside and cut in 3 stitch rows. Once that strip is removed, you can line up the turf to fit your plan. Be sure that all synthetic turf is facing the same direction (stitch rows and blades should be going in the same direction).
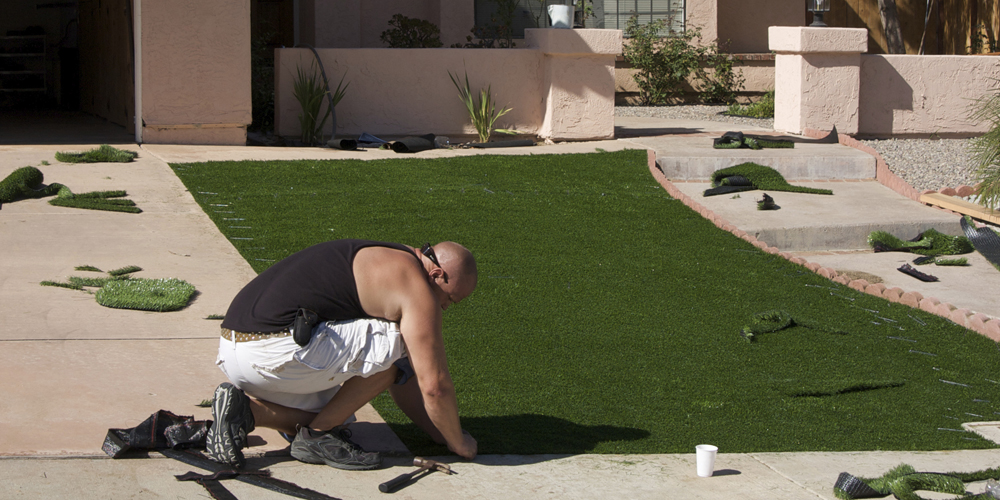
Step 2: If you have no seams, you will secure one end of the artificial turf with 5 inch or 6 inch nails and space them 3 – 4 inches apart along the edge. From there, it is critical that you stretch the artificial turf to remove any wrinkles (a carpet kicker can be useful for this). Artificial turf expands and contracts in hot and cold weather so having a tight, secure perimeter is key. You will stretch the synthetic grass across to the opposite side and secure that edge in the same way by spacing nails every 3 – 4 inches. We do not require that you place nails throughout the interior of the artificial grass. However, if you choose to do so, you can place them every 12 – 24 inches throughout the center. Never drive nails into base too far because this will create a noticeable dip.
Step 3: If you have seams, you will want to secure the seams first before nailing the perimeter. You will want to “dry seam” the synthetic turf, meaning line it up exactly where you want it. Then, secure one end of the synthetic turf with 5 inch or 6 inch nails and space them 3 – 4 inches apart along the edge so the synthetic grass stays in place when you seam it.
We recommend that you use seaming tape and glue to secure the seams. You apply seaming tape by laying the tape lengthwise along the backing of the turf and troweling on a thin layer of glue so that the glue does not come up through the drain holes.
Now, you want to slowly lay down the two sides of the synthetic turf with a 1/8” gap in between. Wipe off any glue residue immediately. Once seam is complete, nail along the seam every 4 inches to secure (do not counter sink). After glue is dry, then stretch the synthetic turf and secure the perimeter as mentioned in Step #2.
Step 4: Once artificial turf is secured, push broom or power broom the turf before applying the infill. This will help the blades stand up and help work the infill into the backing. Using a drop spreader, evenly apply infill and work in with a turf rake or push broom (do not use metal tools).
How much infill should you use? Infill amount will vary: 1.5 – 2lbs per square foot depending on thickness of the artificial grass. A 50Ib bag of infill will typically cover 25 – 35 square feet of synthetic grass. Never use regular sand for infill. Use only manufacturer recommended infill materials.
Step 5: Power broom or turf rake the artificial turf one more time to ensure the infill is worked into the backing.
Step 6: Finally, walk along the perimeter of the artificial turf and check for any excess turf. You can trim this off to create a nice, clean finish. Feel free to print out our PDF installation guide below for easy reference:
Installation Videos | PDF Installation Guide
Installing a Putting Green?
Putting Greens are installed differently. They have NO surface or perimeter nails. Contact us for more detailed information about how to install artificial grass, especially a putting green: 844-WSI-TURF
When Do-It-Yourself is Out of Reach
 |
Want to see how the pros do it? Check out our installation videos to see how to install artificial grass in action. It sounds good to tackle a Do-It-Yourself synthetic yard, but it’s not a small task. If it is more than you are ready to take on, get in touch with us. We can connect you with a trained contractor in your part of the SF Bay Area who can provide you with a free estimate and do the job for you. Feel free to check out our Homeowners page as well. Contact Watersavers for all of your artificial grass needs. We offer the best fake turf plus a full range of all the tools you could ask for to install and care for a faux lawn, from pads and infill up through pro-level equipment to rent or buy. Come visit one of our stores in the SF Bay Area, get a free estimate quote online, or give us a call at 844-974-8873. |

